Tech Tip Tuesday: First Day of School Signs! FREEBIE!!! Make it personalized with a tutorial here!

On Carly's first day of eighth grade, I made her a first day of school sign! I also made her one for ninth grade but I didn't get to print it out because my printer was on the fritz and I couldn't :( But here is what it would have looked like had I gotten it printed!


I also made signs for my niece and nephew. I uploaded it to Facebook and had so many compliments and questions about how I made the signs. I've made personalized signs for many of my friends and family.

Here is your chance to get your very own personalized sign for the first day of school!

Just click on the link below and download. Open it in PowerPoint and BAM!

I have embedded the fonts I've used, but just in case here is the list:

These are the fonts:
Hello Heartache
Life's a Beach
KG No Regrets Sketch
A Little Sunshine
Janda Safe and Sound

Do a Google search and install.

So let's get started. Here's how it works:
Open the file.

Click in a Text Box and highlight the text you want to change.
 The font will automatically adjust to fill the size of your words.

Or you can resize the text box yourself, by clicking and dragging the handles around the edge of the text box.

You can change the color, font, and style:
You can't change the font size because I've used word art boxes to automatically adjust the size of your text.

I have included a page without any clipart in case you want to add a picture of your own.
Just click on the Insert tab and choose Insert Pictures. Navigate to find your own pics. 


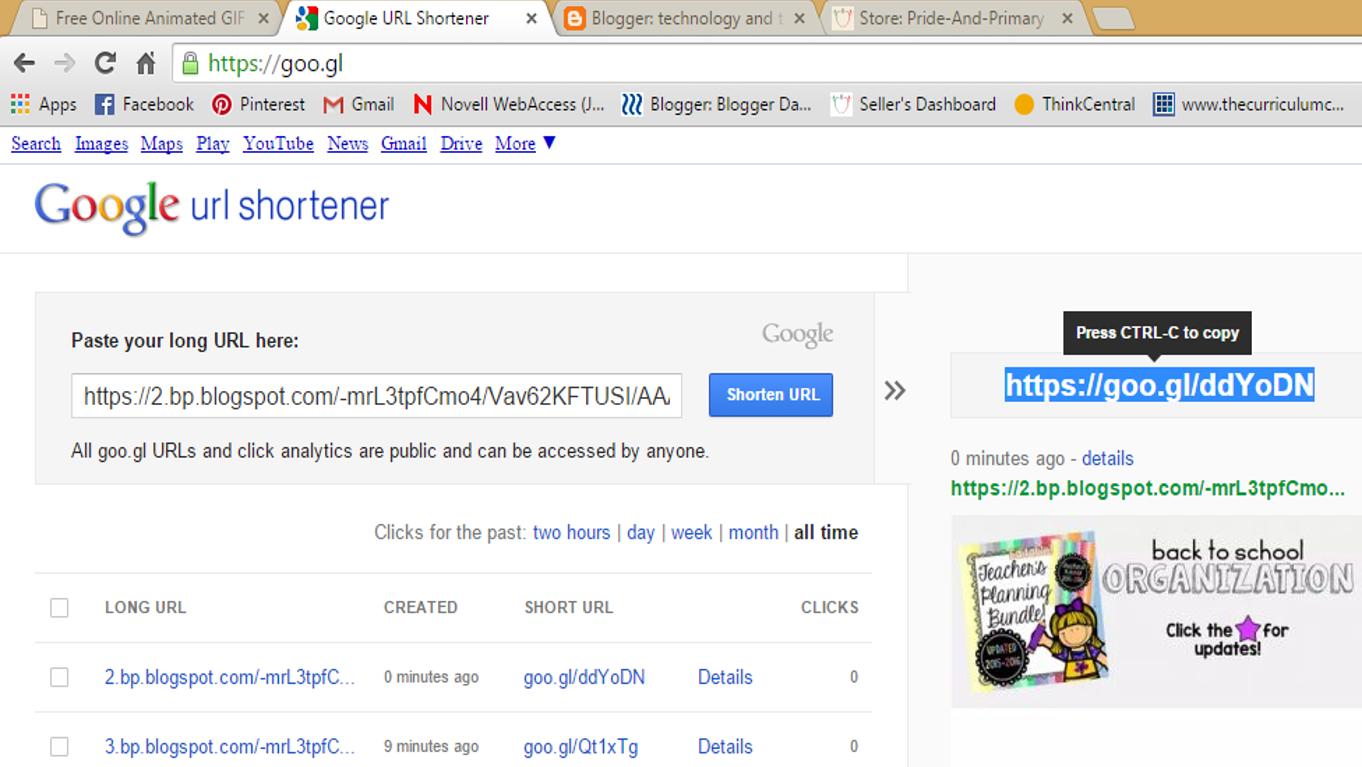
And that's it! My sister uploaded her signs to Walgreens and had an 8 x 10 printed for around $4 bucks I believe.

For Carly's Eighth grade year I printed the file as a poster on my home printer. Yep, a lot of ink and a lot bigger than I had intended, but hey, it worked!!

Some printers will allow for poster printing. If so, here is how to print a poster:
Go to print the file and click on Printer Properties.
You get this pop up menu. Click on the Layout tab at the top. Click enable under Poster Printing. 

You can opt to print on 4 pages or 9 pages or 16 pages. See where it says 2x2? Use drop down arrow to choose. I used 2x2 and then taped the pages together. Click the "on" box next to Add Crop Marks to make it easier to cut out and tape together. 

{HERE} is the link for the signs. It's a zip file - download and extract. 

Here is a Google Drive link for the file in Slides, if you prefer to work right in your browser with all Google!
Thanks for reading!
0

Tech Tip Tuesday: QR Codes for Listening Center

Hello! Just a quick jot tonight to share my latest remake of my listening library.
QR Codes!


I have collected A LOT of books on CD over the years and the baskets of bags aren't very attractive on the counter. Here is a picture from the beginning of the year (before the children got their hands on them!) and before I ordered more a lot more from Scholastic. I'm a sucker for new books.


It's just overflowing now. 
So I'm giving it a makeover.

Have you ever used QR codes in your classroom? They are so fun! The kids love to use the iPads and scan and listen to audiobooks.

Here's how to get started:
Put all the audiobooks onto your computer in .mp3 format.
I use Windows Media Player. Insert the CD and open Windows Media Player. Click on Rip Settings, then Format, then choose MP3
Then click Rip CD.
Once it's uploaded to your computer, you'll need to get a URL for the QR code. To get that, you'll need to upload the audio file to a file hosting site like Dropbox.
Sign in or create account.
Add a file to the Dropbox.
Once it's uploaded, click on Share.

This box pops up and there's the link you need!


Copy it.

Now, find a QR creator website that you like. I like QR Stuff. SUPER easy to use. Type in the web address and the screen you need immediately pops up.
See? Easy Peasy.

Paste the link, choose the Encoding Options, and BAM - there's your code. Click to download the code as a picture. 

I print out the picture and tape it to the back of the book. The kids can scan the code and then listen while reading along. No more CDs and paper cases and books in bags.


I'm loving this new system! 

How do you use QR codes? Anything new and easy? 

Happy teaching,
1

Everyday Technology for the Classroom Teacher!

Hi guys! I'm freshly back from our Red Stick Roundup Teacher Blogger Meetup and once again it was fabulous! Stay tuned for a linky party!


I was given the chance to present on everyday technology and I just wanted to share that presentation here with you! Click through it to learn about some things you may or may not know!

Thanks and Happy Tech-ing!

0

Tech Tip Tuesday: GIF for your TpT Store!

Hi friends! Have you seen the latest trend on TpT? Rotating Quote pictures? They are popping up everywhere! Thought I would share with you how I made mine!

GIF for TpT Store Front

I'm starting a new series on my blog for the school year: Tech Tip Tuesday!


I'm hoping to post every Tuesday with a new Tech tutorial or a new tech software or platform to share with you and your classroom or personal life!

So let's get started! First you have to make your designs. I use PowerPoint, but you can design in whatever program you are most comfortable with, as long as the finished dimensions are correct (about 600 pixels in width, height between 100-260 pixels). 

Open PowerPoint.
How to make a GIF in Powerpoint

Insert a rectangle that is 7” x 3.5”.

You will need to fill the rectangle with the same color as the quote section on TpT. To do that, go to the Format tab, then to Shape Fill, and click on More Colors.

On the custom tab, make the fill color R 241 G 241 B 241. Click OK. 
 
Clear the outline on the rectangle by clicking on the Format Tab, the Shape Outline, then click on No Outline.


Make your design inside the rectangle.  


Group (select all items and the rectangle) and save your design as a picture.

Right click on grouped design and click Save as Picture. Name your file and save it to a location you can easily find. The desktop is usually a good spot.  

Now we have to resize and skew to the correct dimensions. 

Open in Paint. You can also use Photoshop or another similar program.

Do you have extra space? We can get rid of that! But first, let's resize it. 

Click Resize on the Home tab. 

Click the Pixels circle. Change the Horizontal size to 600. The vertical size will change automatically to something around 240-270ish. Click OK.

Now get rid of the white space. 


Then save the picture! I press ctrl+S. It’s the easiest way to save it under the same file name and same location, just a different size.

Repeat for the rest of your pictures. I made 4 pictures. You can make as many as you would like.

It’s ready to upload to GIF maker. Go to http://gifmaker.me/ Click on Upload Images. 

Find your pictures you made and saved. Upload.

Then Download the GIF, again to a place that is easily found. 

Then you will need to upload the GIF to a file/picture hosting service. Photobucket, PicMonkey, etc. You will need the URL.
I use my blog: Open a new blog post, upload the GIF. 
Then, click on the GIF and click Original Size. 

Then right click and “Copy Image URL”


Once you have the long URL, shorten it using a URL shortener. I prefer Google but bit.do, bit.ly also work well. 

Copy that shortened URL you see highlighted. 

You don’t have to worry about that blog post your uploaded the gif to- just click close, not publish and don't delete it.

Then you need html code:

<a href=“url of the product/page you want linked”><img src=“shortened url of GIF”></a>

So mine would look like:

<a href="http://www.prideandprimary.com"><img src="https://goo.gl/74nGwr"></a>

I want my GIF to link to my blog, so I put the URL link to my blog. If you want the GIF linked to a product or somewhere else, just put that URL link instead. You may need to shorten it also, since the quote section only allows 120 characters.

And that’s it!

Just go to your account section on TpT. 
Click My Account. 
Click on Store Profile. 
Click on EDIT. 
And in the Personal Quote section, put that code you just made. 

Save and BAM. 

You’re awesome.


If you update your store, send me an email at prideandprimaryblog@gmail.com so I can come and heap praises on your storefront!!
Thanks!
2

Mixing the Punchbowl!

Hi guys! How's your summer going? Mine has started off with a bang and hasn't stopped.

I'm linking up today with The Primary Punchbowl to share my classroom move this coming fall. Many members of the Punchbowl are changing up jobs this year. Elisabeth from Literacy and Lattes wrote a great anchor post HERE so check it out.

Well my principal had been asking me since October if I would take the Video Production job at my school. My master's is in educational technology so it is my dream to eventually teach technology or coordinate technology somewhere. I put it off and put it off and kept telling myself
"There's no place like first, there's no place like first!"
"I can't add past 30!"
"I'm so comfortable here!"
"I don't know anything about Video Production!" 
"Sixth graders are so big!" 
"What do you mean they don't like stickers?"

Sooooooo.....I thought and prayed and thought and prayed and made Pros and Cons Lists and talked to everyone and finally..........................I decided.
Yep. I'm taking the plunge. Or the climb. Or whatever. So now my mind is saying things like 

"What am I supposed to do with my 6,789,234,564 books?"

"Surely 6th graders love Fly Guy, right?"

"Can I keep all my stuffed animals?"

"Who has a Video Production?Media Literacy Curriculum I can use?"

"What if I break the equipment? What if they break the equipment?"

"What if they don't get as excited about glitter as I do?"

"WHAT IF THEY DONT LIKE GLITTER?!?!?"

Whew. It's a lot. And I've only answered a few of those questions. I will have to write my curriculum from scratch seeing as I can't seem to find what I'm looking for. 


I've found a few sites to help me and support me while I'm learning. But for the most part, it will be coming from my own brain. And it's not just sixth grade. We plan on adding 7th and 8th by 2019. So this curriculum will have to span three years and build upon one another. 

Here's my beginning: 
Click to Download a Copy
I will start small, just teaching about digital citizenship and Google and learning the equipment. Then we will slowly move onto a grander scale! I've got a vision - we shall see!

But I will still be working on products and ideas for ALL grades. I've got a list of things for primary that I've never gotten to so I need to keep on creating!


 I need to know this! I won't really be giving homework in my class so no homework passes are out. I've usually collected McDonald's toys and the like for my treat box but I'm pretty sure that 6th graders won't want a Hello Kitty plastic toy that stamps hearts. Please let me know!


So, any advice for me? What's stuff I need to know or do? My daughter tells me that I need to stay up in the know on Internet memes (9 + 10 = 21?? Really??) so apparently I'll be browsing Tumblr. A lot. 

Are you changing it up? Link up to share your move, too!
0
Powered by Blogger.
Back to Top